Getting Started
This guide will walk you through creating your first root cause analysis investigation with RCA Map. Here’s a brief overview of this walkthrough:
Describe the incident
Provide context on what the incident was, when it happened, how critical it was to the business. In addition to helping you document the incident, this helps the AI assistant help you.
Build out the RCA map
Answer the questions the AI assistant asks you, accept/reject its suggestions, and help build out the RCA map. The RCA map is the core of the analysis and helps you understand the root cause of the issue and what to do to avoid it in the future.
Share your findings
Export your findings to .docx or .pdf files and share them with your team. Follow up on the
action items and make sure you never run into the same issue again.
Creating Your First RCA Map
Step 1: Describe the Incident
To get started, you don’t even have to have an account. Just head over to rcamap.com and type in a concise description of your incident. This will create your first RCA Map.
If you did have an account, you can create a map using the “Create New Map” button on rcamap.com.
Next, you’ll be asked for more details about the incident. In addition to helping you document the incident, these details will help the AI assistant be a better sparring partner in your investigation.
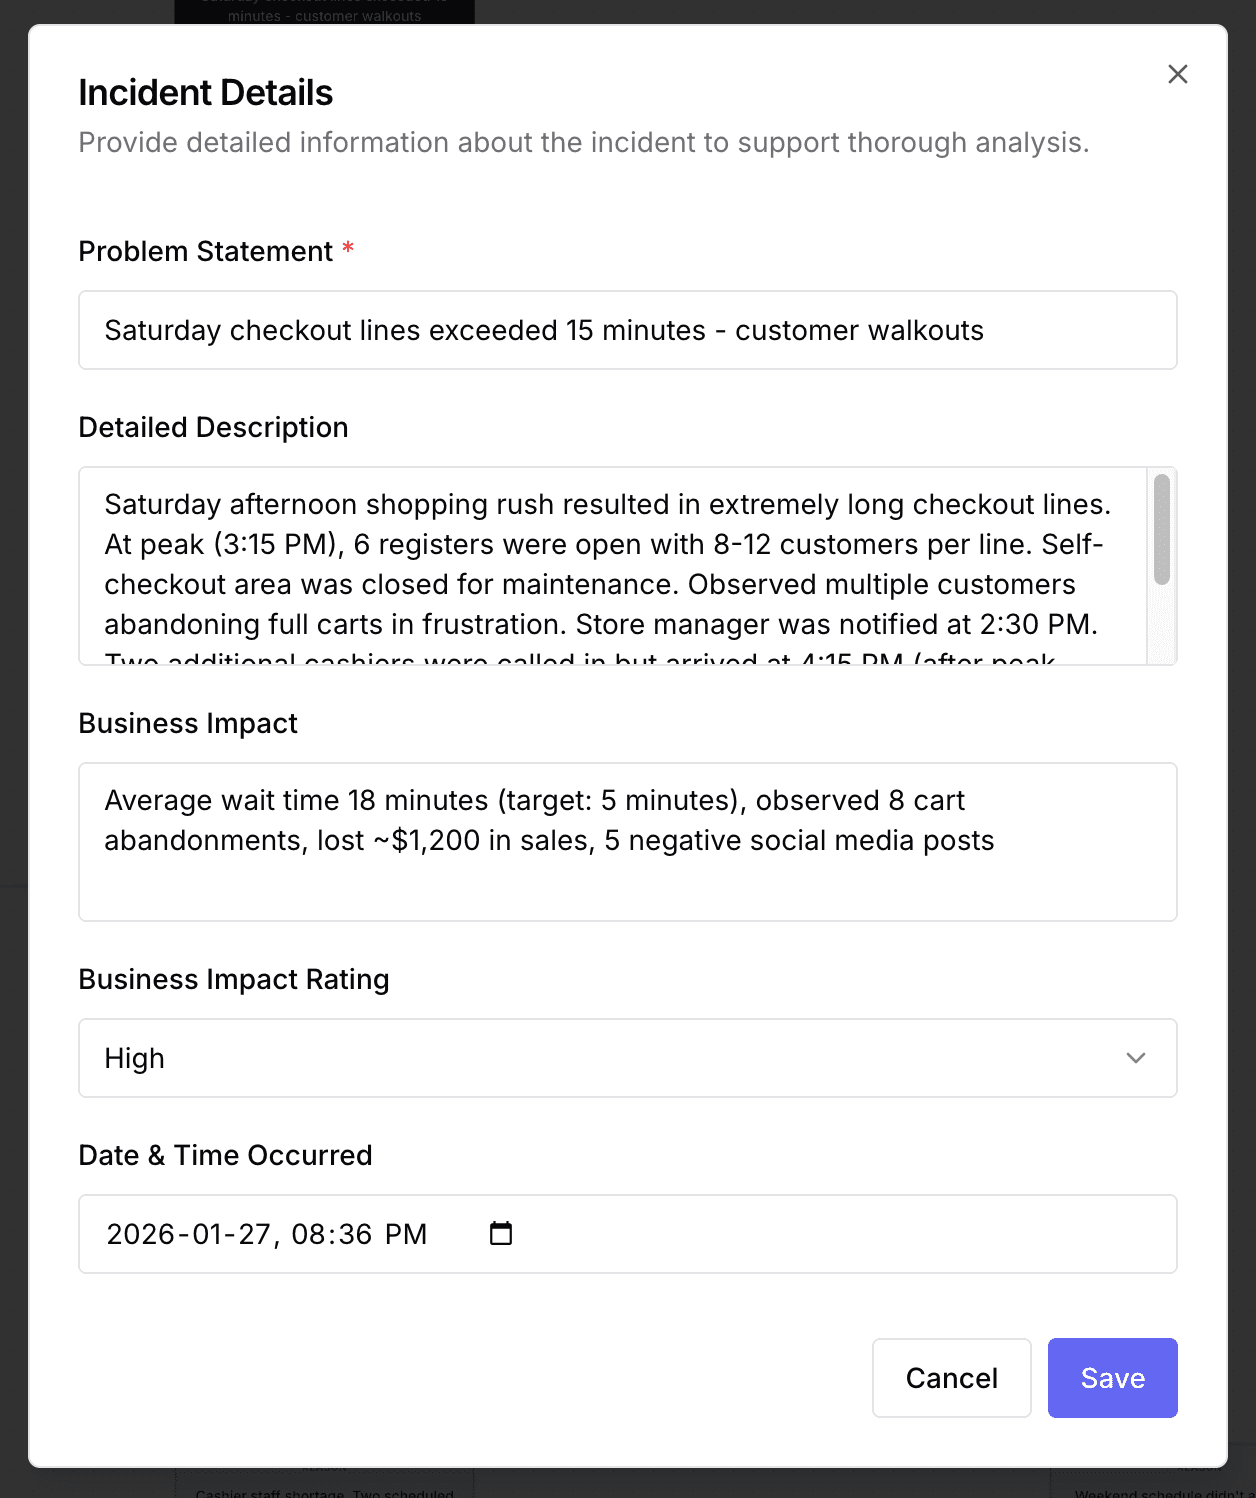
An example of incident details
Creating a map without signing in creates a “public” map. This means that anyone with the URL can access it. It’s a good way to try things out, but once satisfied you should create an account. If you sign-up or sign-in from a public map, it will be transferred to your account and made private to you.
Step 2: Build out the RCA Map
Once your map is created, you’ll see two main areas:
- Left: RCA canvas, containing the investigation tree
- Right: Comments interface (can be toggled)
 An example map showing the RCA canvas with the commenting interface
The AI assistant will create comments on the nodes in your investigation tree. Answer these questions as best as you can. These answers will help document the incident and help the AI assistant understand the context surrounding the incident. It might even ask questions you hadn’t thought of, helping you further your understanding of the incident. If you feel like you’ve sufficiently answered a question, click on the “Resolve” button.
The AI will create suggested nodes in the canvas to further the investigation. Accept or reject these nodes. Feel free to modify the text of any node. You can also create your own nodes by using the “Add” button on any node.
These nodes help you visualize the investigation. Typically, Why nodes will have Reason nodes
below them and Reason nodes will have Why nodes below them. Various Action Item nodes will be
littered throughout the investigation. A Why node can have multiple reasons and a Reason node
can have multiple Why nodes below it.
The AI assistant will keep drilling down as long as you allow it. When you feel like you’ve reached
a root cause, reject any further suggestions from the AI on that Reason node. Remember that an
incident can have several root causes; there’s no need to limit yourself to one.
The goal of this entire exercise is to figure out the root causes and action items associated with this incident.
Step 3: Share Your Findings
Once your investigation is complete:
- Click the “Export” button in the header
- Choose your format:
- Word (.docx): Editable document format
- PDF: Read-only, shareable format
- Your investigation tree is converted to a structured document
- Share with your team!
Quick Tips for Success
Do’s ✅
- Be specific in your incident description
- Provide context in the comments - more is better
- Ask “Why?” repeatedly - don’t stop at surface causes
- Use evidence - base reasons on facts, not assumptions
- Add action items - make them concrete and actionable
Don’ts ❌
- Don’t rush - take time to investigate thoroughly
- Don’t accept first answers - keep probing deeper
- Don’t ignore AI clarification questions - they help improve suggestions
Next Steps
Ready to dive deeper? Continue to the Core Features guide! →
Need Help?
Email support@rcamap.com